yes, this blog is alive and well... I guess "well" is relative
this post has been going to print for sometime now
but then life got in the way
we moved AGAIN (yes, all the details will be in a post very soon)
so, this post is coming to you from the trailer park ...
lets get on with it.....
Many of you have asked how I decide what and where to hang when putting together my collage/gallery walls
I tried to take photos as I designed the last one.. read photos... as bad blurry dark cell photos... not pretty photographer photos
its a very scientific method... it has taken years of college to perfect
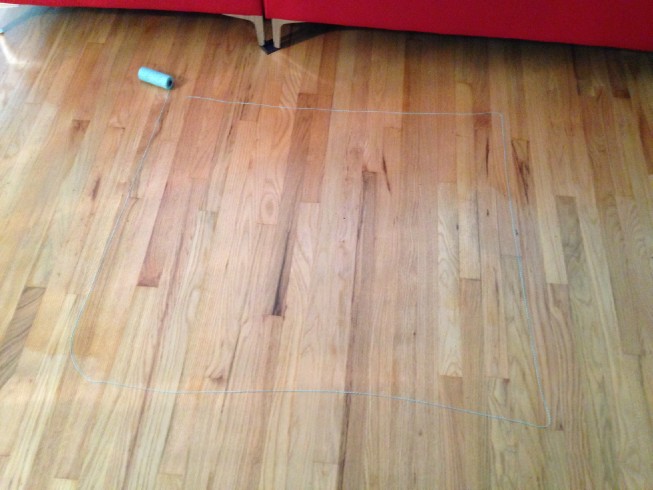
first, I measured the wall I wanted to use and draw a box that size on my floor with yarn
then I start placing things in the box that I know I want to include. If I have not collected enough treasures to fill the box I want to fill, I start pulling things off the walls or off my desk to use as size spacers. This helps me put the wall together even if I don't have ALL my photos yet. This is why you see white squares in the next photo
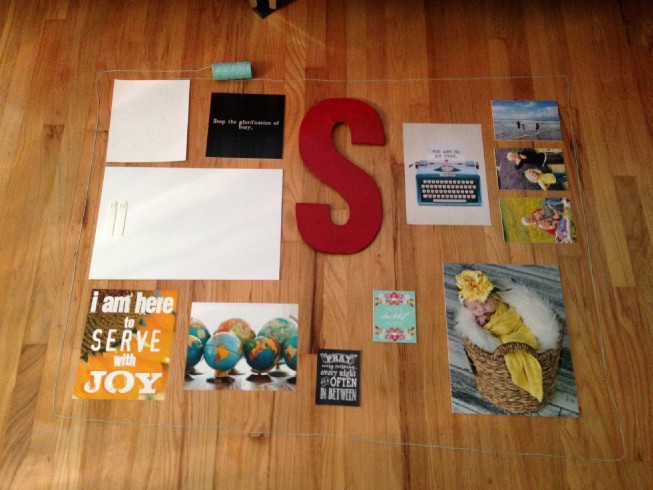
now I move things around to space out the same color and to get a great variety of sizes and shapes. In other words, I don't want all that yellow in one corner, it would cause your eye to pause there instead of continuing around the corner. I also want a mix of photos and word art and a couple antiques. Its at this point I figure out what size all my empty places are, and I go off hunting around the house, or order some prints to fit the open spaces.
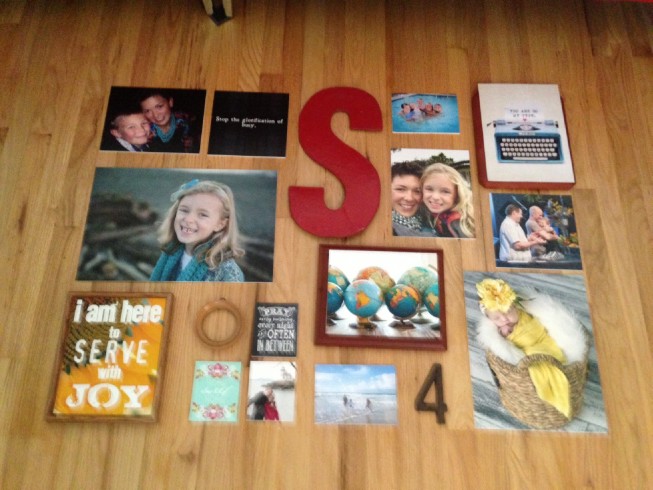
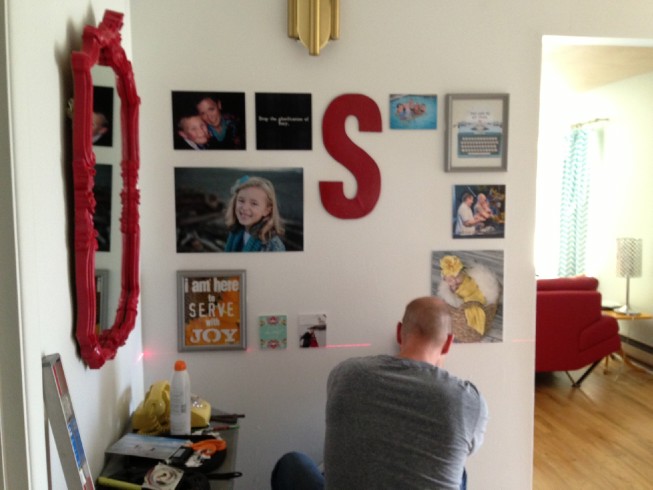
The prints I ordered online need to be framed, so I gather some ugly frames that fit and set them in the mix. I didn't like how the 2 word art prints in the bottom left corner a few photos above were next to each other, so I moved them around. The UPS man (don't you love the UPS man? Please tell me I am not the only one...) brought the prints I ordered and so I set them in their places. And, this is a great time to explain that I get most of my photos mounted from my lab. Its amazing. You don't have to use frames, you can put them up with the Command velcro strips. No holes in the wall. Easy to move. The mounted prints come in all sizes. Those small photos in the bottom left are mounted, and the larger prints are also done this way. They work great on shelves and leaning up on things.
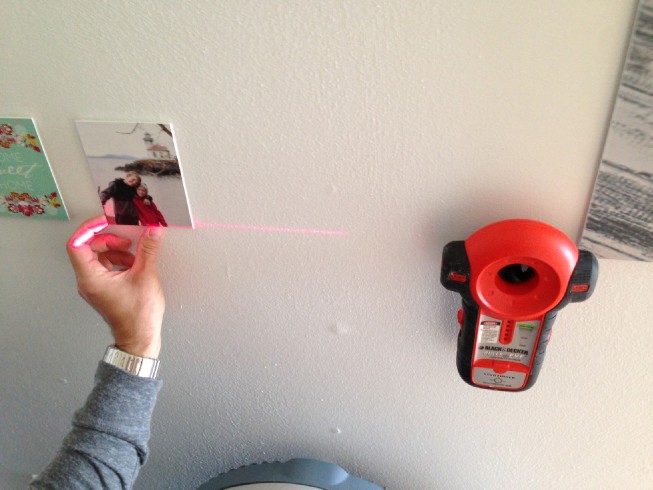
Now we paint the frames and while they are drying, we get started hanging. Because I want them to stay lined up in a box, we started at the bottom and lined all the things in the bottom row up with the lazer level. (by we, I mean my husband). If you have been around here long, you will already know he is the bomb at this. Its not his first dog and pony show. If you didn't see my frame wall at my last house, right click here.
So, after all the edges are lined up, he starts working on the middle. And here you can see the frames were sprayed grey to match.
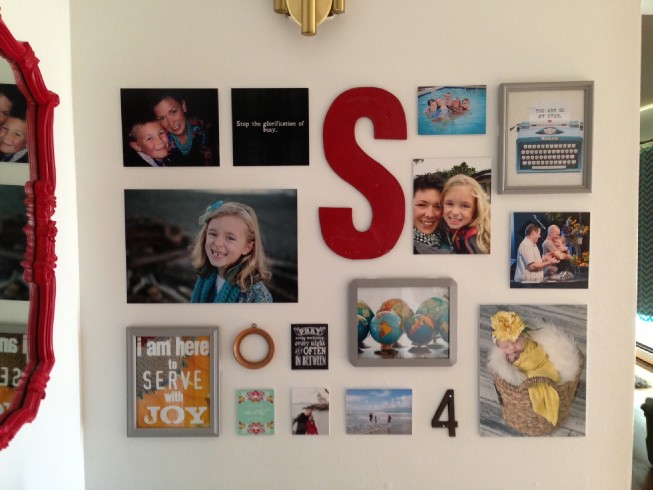
here she is, all done. Well, almost all done. I still need to paint the small round frame. (after he got this all up, it looked great... for about 4 weeks, and then we moved... good thing we used command strips)
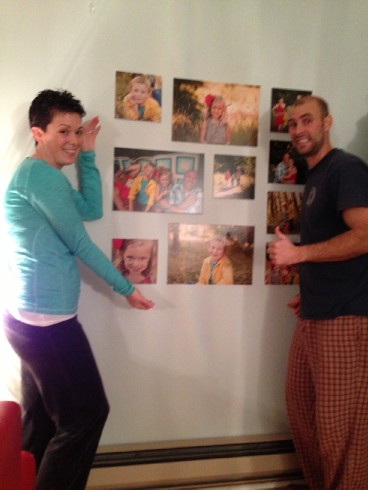
Ok, here are some more phone shots (taken by my daughter) of the wall in our living room. It was done the exact same way. Please excuse our jammies. Just being real.
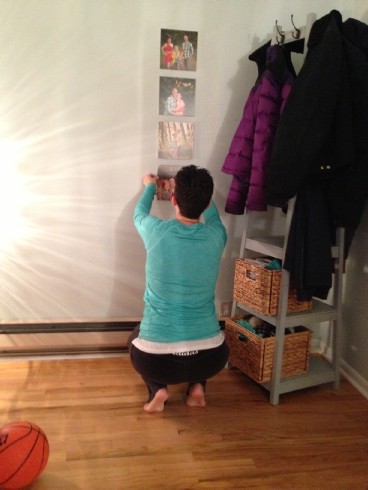
I wasn't kidding about the jammies. Chuck is gonna kill me.
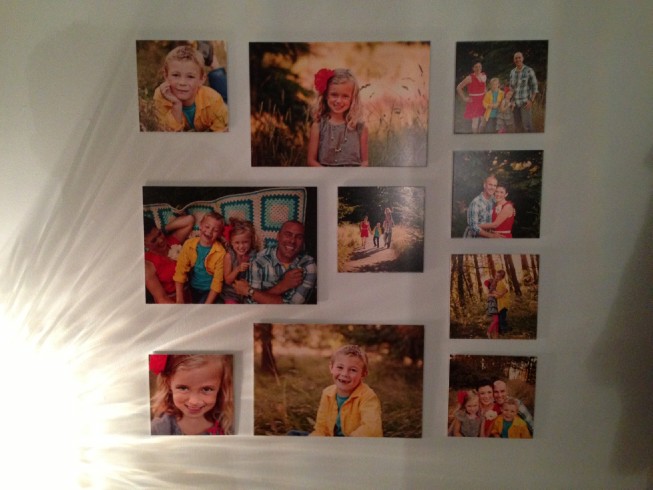
I was working with photos I already had, and didn't want to spend any money to order more. The 3 empty places made me crazy, but I needed just the right sized things to fill the hole. It stayed this way for a few weeks. Finally, after a successful antiquing day, I found just what I wanted.
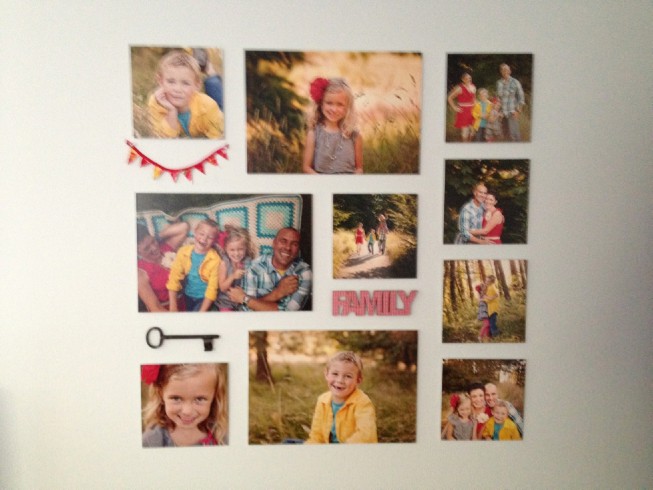
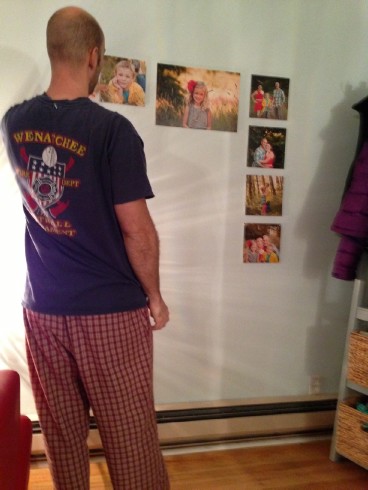
BAM. Nope, your don't need glasses. Sadly, this blurry dark cell photo is all that I have to show you. And, now all those beauties are in storage. But, you get the point, right?
p.s. - I just scrolled back and read a few old blog posts, and here is a place where you can see more of the gallery walls, with much better pics.